Securing Kubernetes Applications Behind GitHub OAuth2
Note: This post was originally posted on my personal blog. I have copied the content to this blog.
Often, especially with home lab setups, we will deploy a service that has no authentication of its own. If we want this service exposed to the internet, our options usually are to use HTTP Basic Auth or bring in a full fledged identity management suite, which is often inappropriate for simple applications where we just want to grant access to some, and deny access to the rest. Enter in OAuth2. By using built-in functionality of the ingress-nginx controller and a simple OAuth2 proxy, we can add an OAuth landing page (in this case, GitHub) to our applications. This allows us to manage access to applications using GitHub organizations and teams.
This configuration requires your application to have an ingress and be using ingress-nginx. Other ingress controllers like Traefik probably support this too, but they are out of scope of this post.
Other OAuth2 providers are supported of course, including Google.
Configuring GitHub
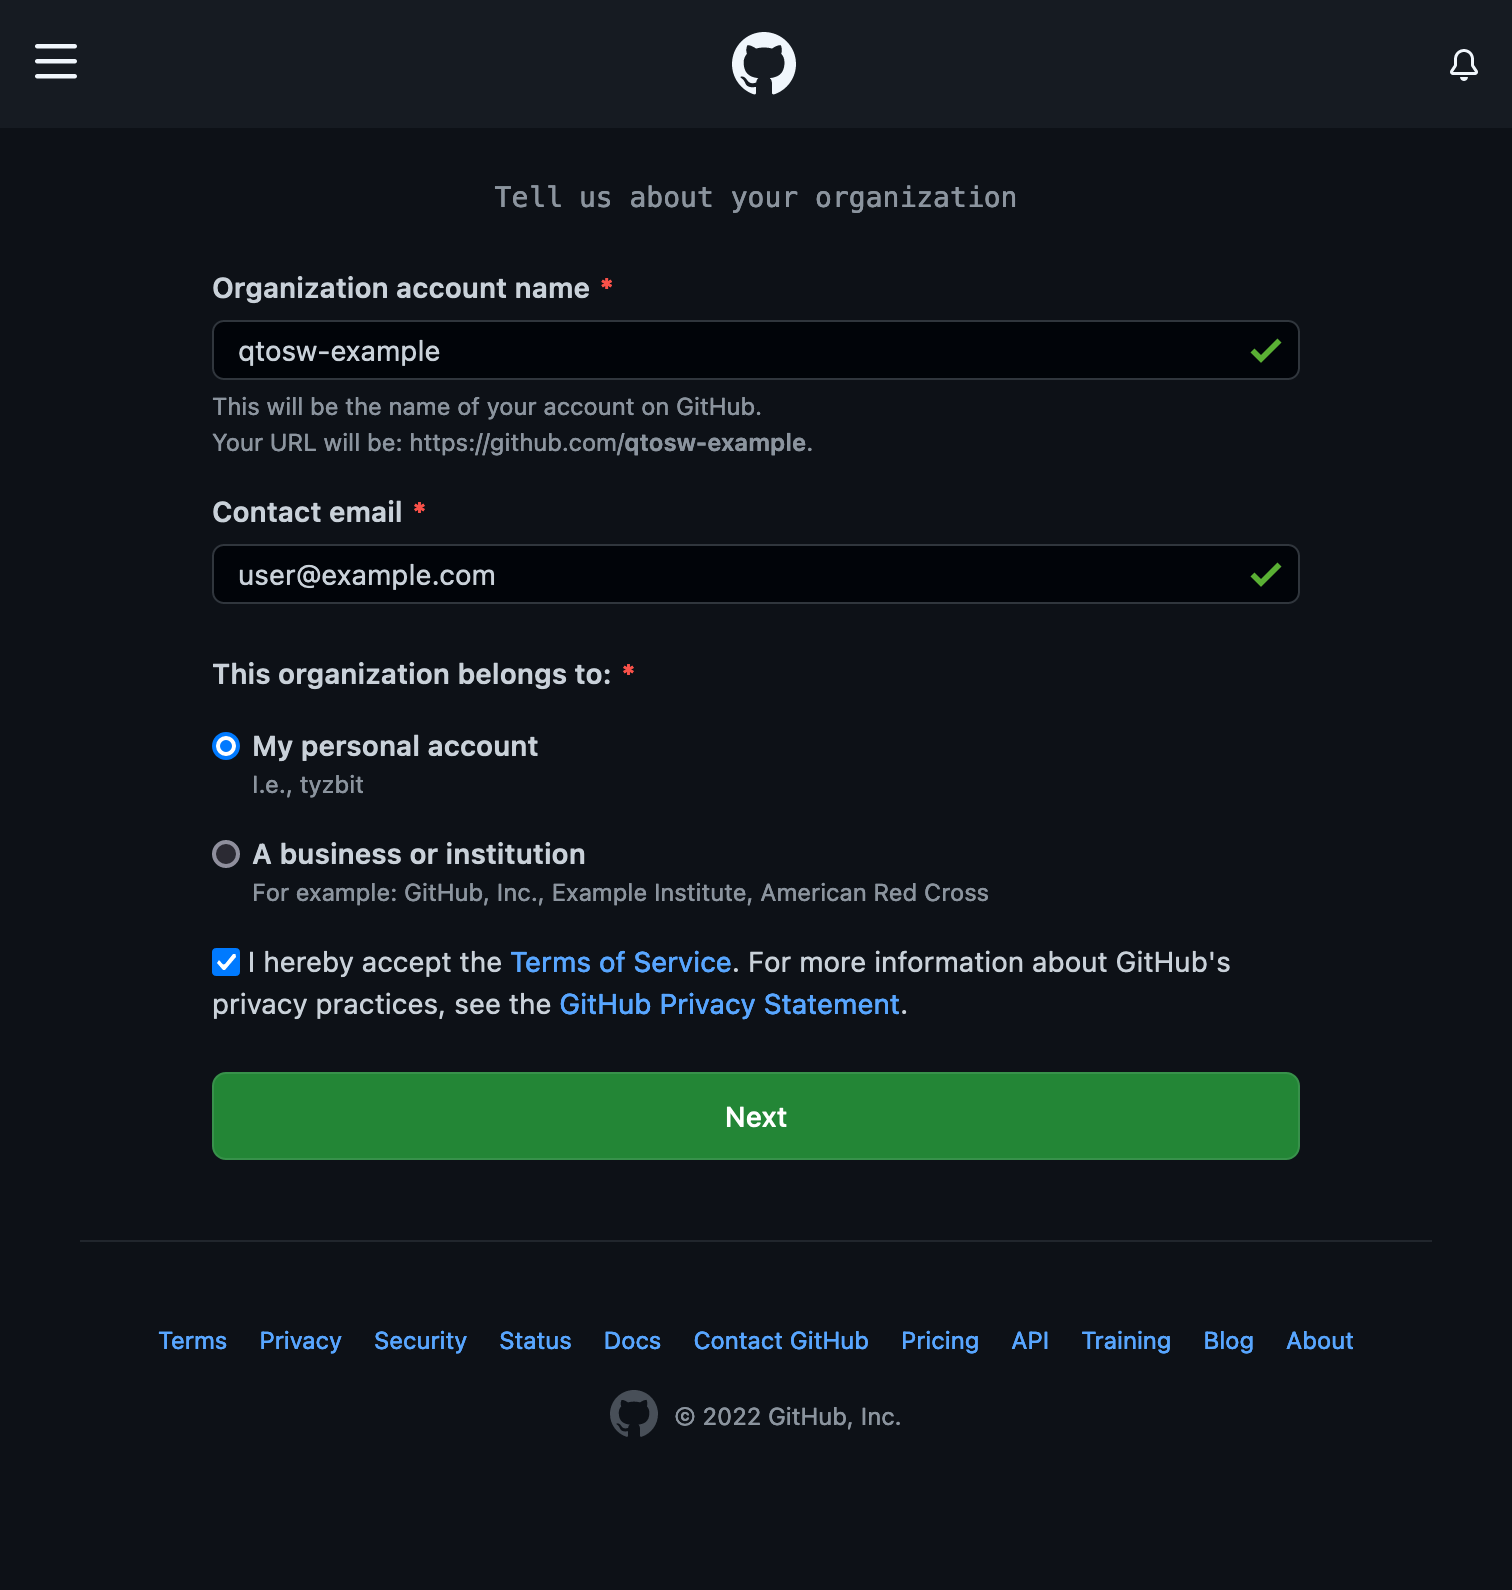
First, create an organization on GitHub.

Click Next. We’ll add users later, so click Complete Setup. Answer the survey if you like, then navigate to the organization page, which is https://github.com/(organization). In this case, the link is https://github.com/qtosw-example.
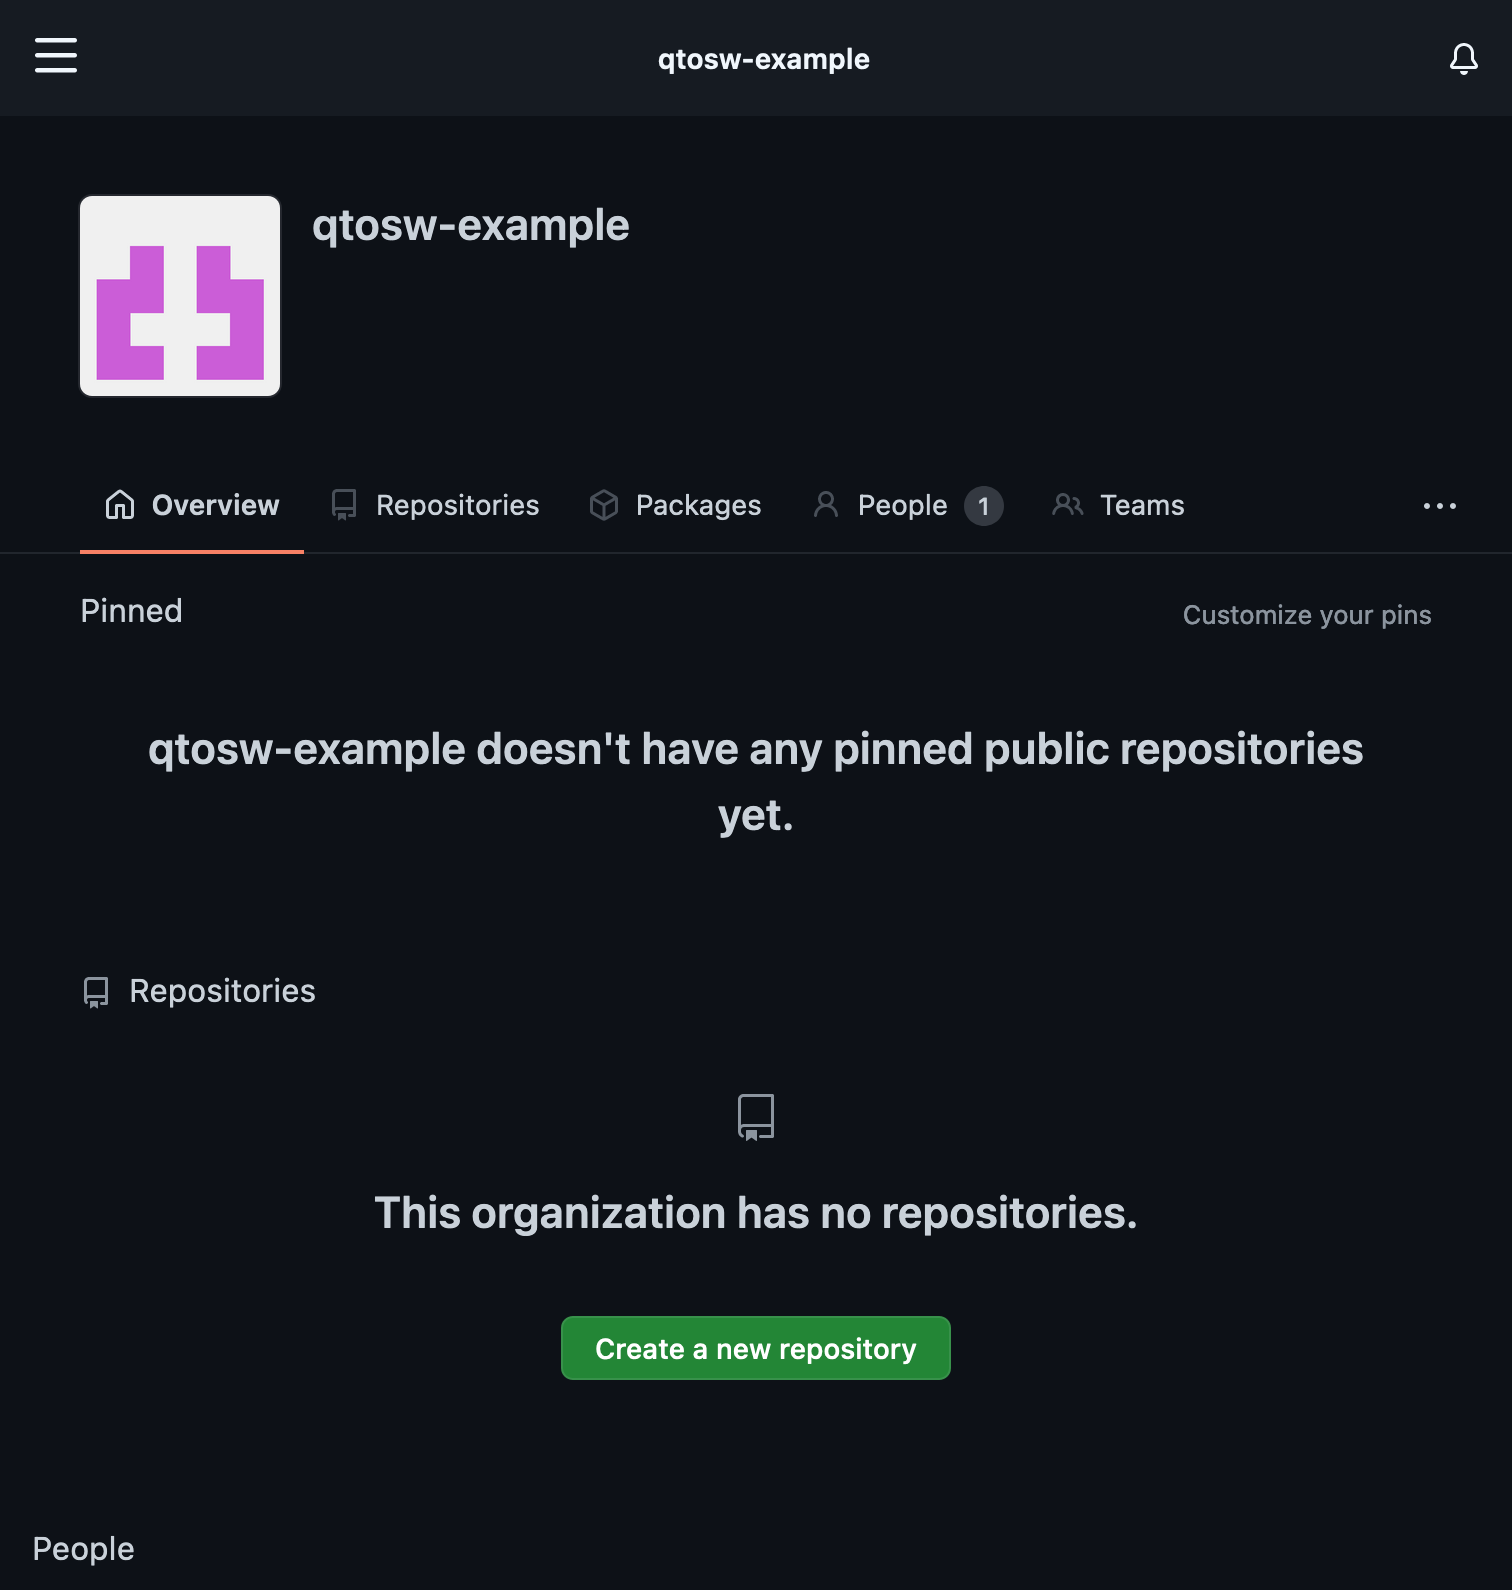
Navigate to Settings (on mobile, it’s behind the 3 dots)
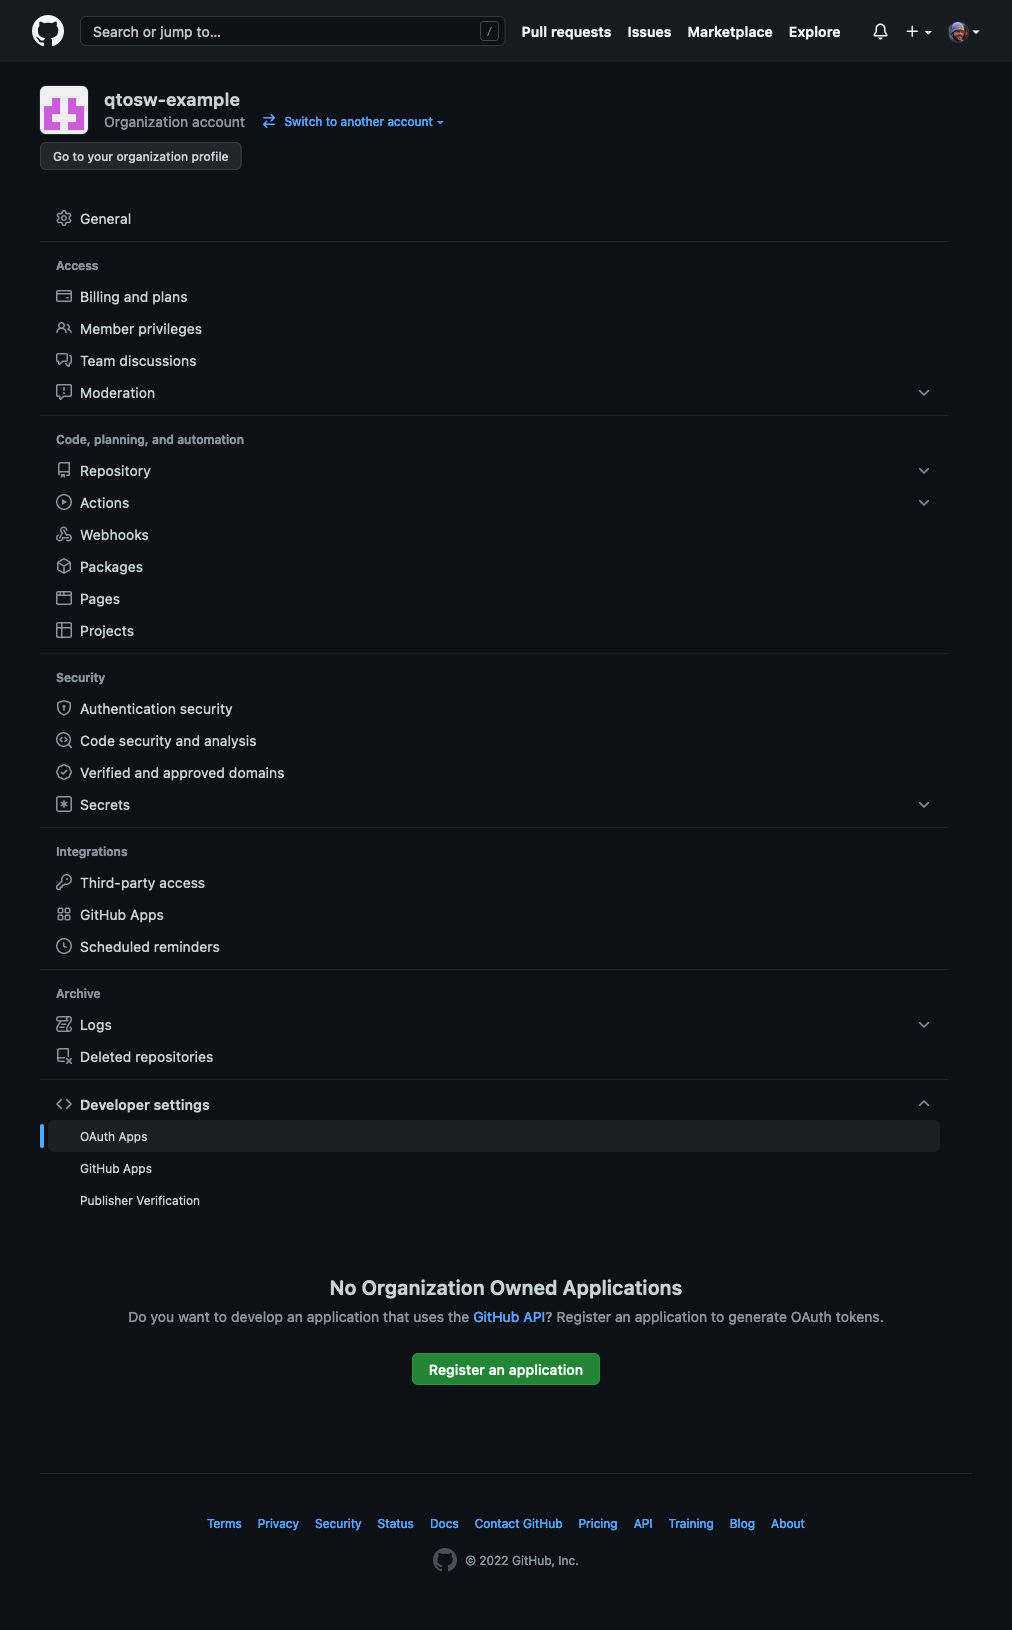
Go to Developer Settings at the bottom, then OAuth Apps. Then click on Register an application.
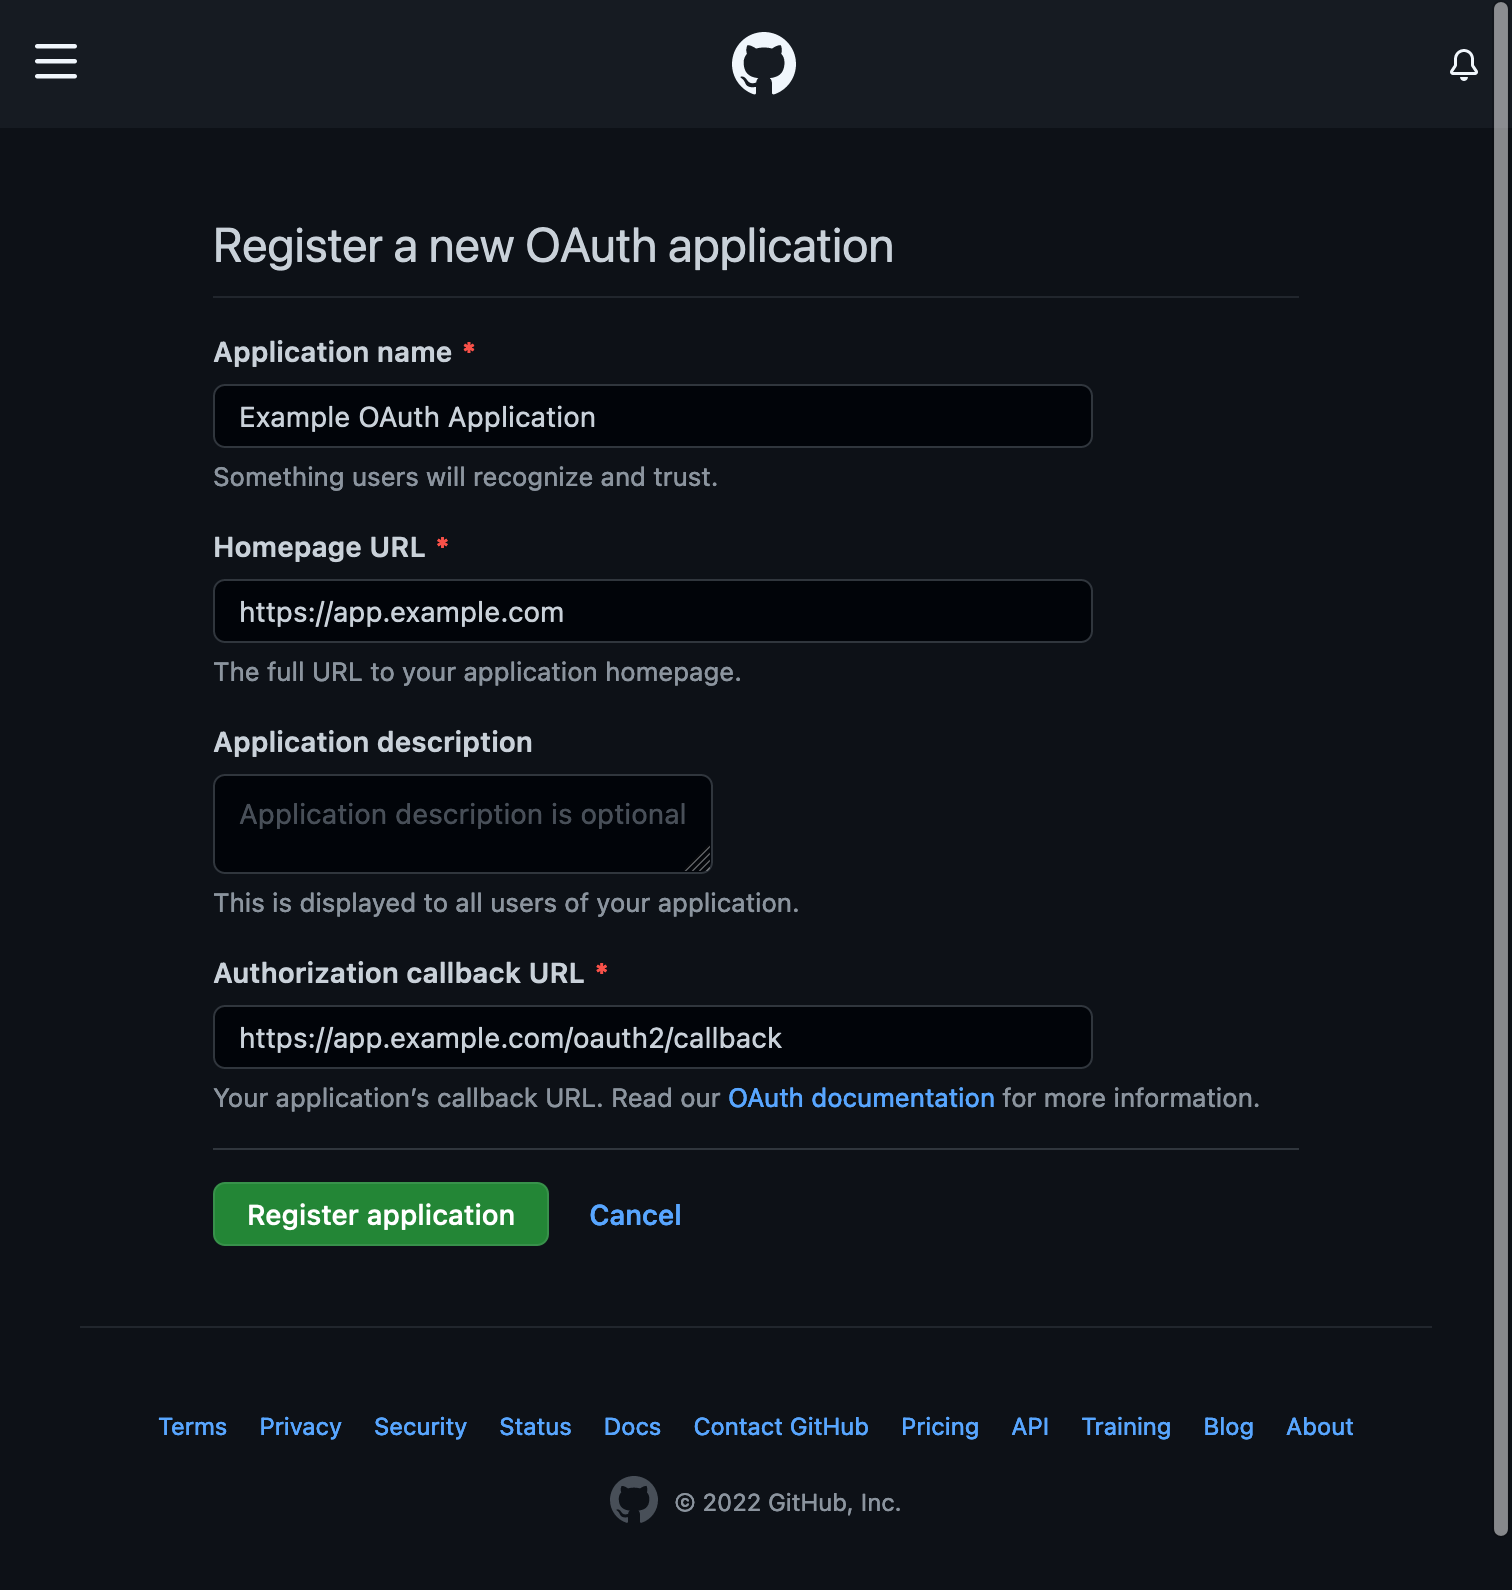
Fill in the information, giving it a name (which is shown to users logging in) and the Homepage URL. Then for the Authorization callback URL, put in the Homepage URL followed by /oauth2/callback.
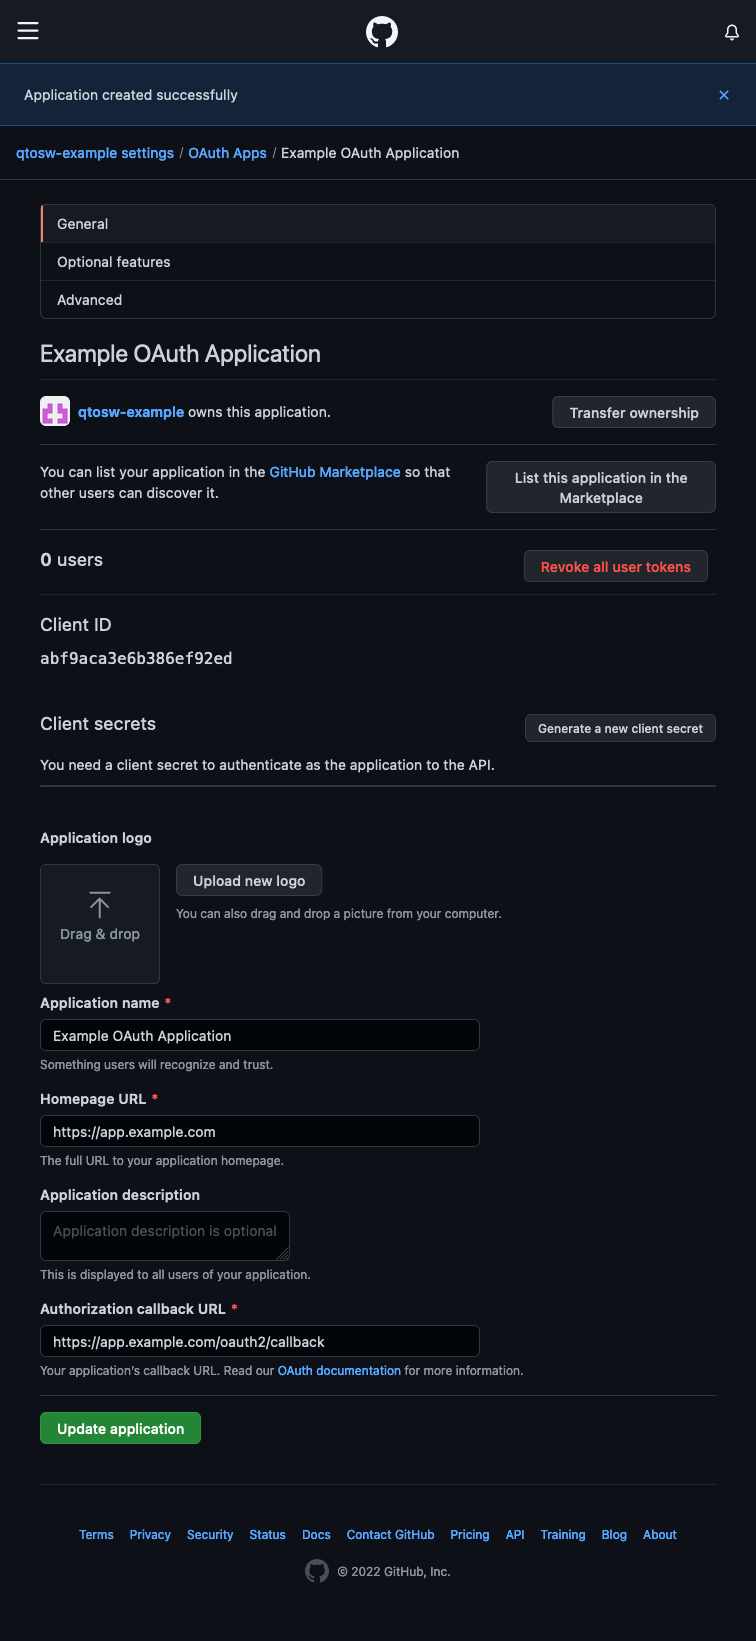
Copy the Client ID from this page to your notes, and then click on Generate a new client secret. Save this secret to your notes as well. Finally, run this command and save the output to your notes:
openssl rand -base64 32 | head -c 32 | base64
This is called the cookie-secret and will be used a bit later.
Lets create some teams. Go back to your organization’s main page, then click Teams
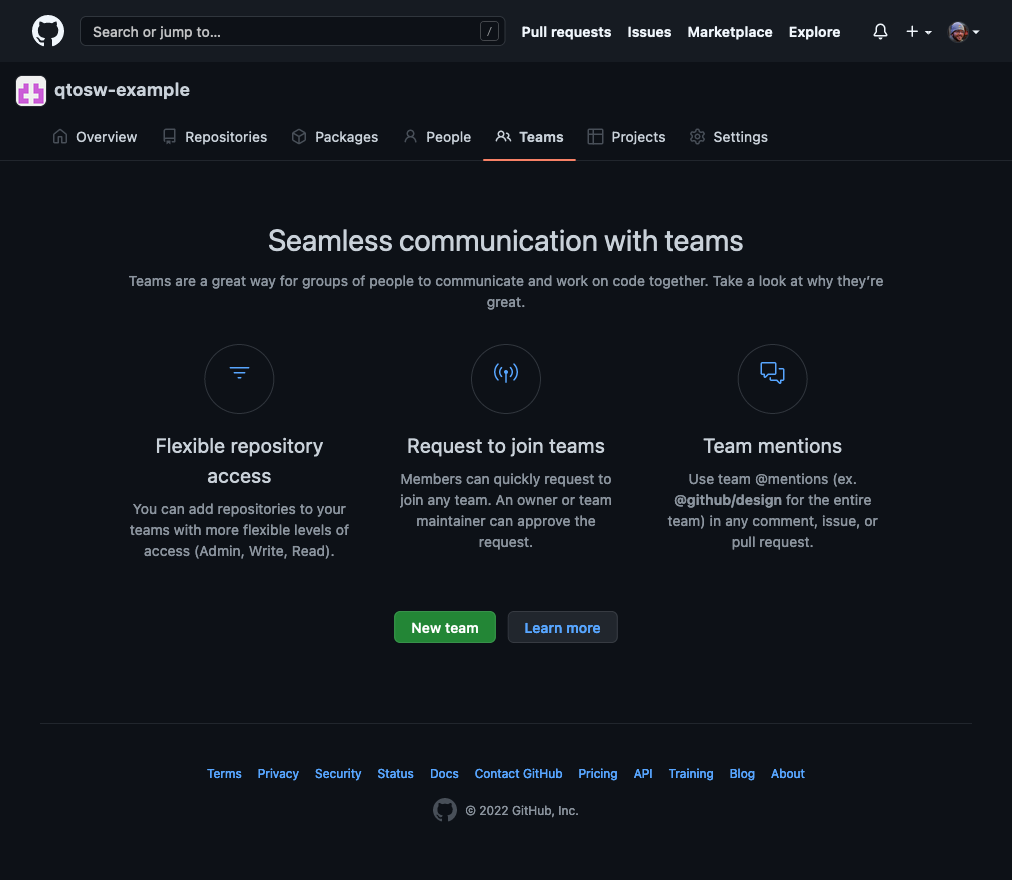
Now click New team
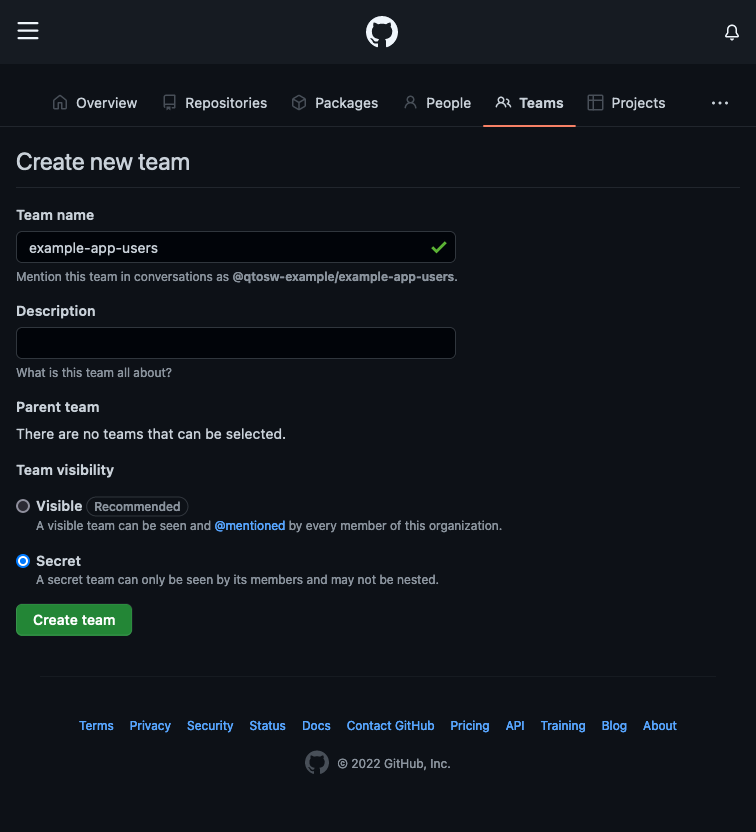
Create an example-app-users team, optionally making it secret. Once created, you’ll see you’re already a member of the team. Now we can move on to installing and configuring the OAuth2-Proxy.
First, lets create the necessary secret. Create a file which we will call example-app-secret.yaml.
apiVersion: v1
kind: Secret
metadata:
    name: example-app-oauth2-proxy
    namespace: default
stringData:
    client-id: CLIENT_ID_HERE
    client-secret: CLIENT_SECRET_HERE
    cookie-secret: OPENSSL_OUTPUT_HERE
Replace the values with the values from your notes, including the cookie-secret you generated using the openssl command earlier. Note we’re using stringData here, so there’s no need to base64 encode the values.
Apply it: kubectl apply -f example-app-secret.yaml
Installing OAuth2-Proxy using Helm Charts
If you want to use helm directly, continue onwards. If you want to use Flux, skip this section.
Add the oauth2-proxy helm repository:
helm repo add oauth2-proxy https://oauth2-proxy.github.io/manifests
Next we’ll create a values file, which we can call example-app-values.yaml
extraArgs:
  provider: github
  github-org: "qtosw-example"
  github-team: "super-admins,example-app-users"
  cookie-expire: 168h0m0s
config:
  existingSecret: example-app-oauth2-proxy
Replace github-org, github-team and existingSecret to match your configuration.
Now, let’s install:
helm install example-app-oauth2 oauth2-proxy/oauth2-proxy --version 6.0.1 -f example-app-values.yaml
Installing OAuth2-Proxy using Flux
Update where appropriate and add this to your existing Flux cluster folder (it might be wise to split off the HelmRepository into its own file):
apiVersion: source.toolkit.fluxcd.io/v1beta1
kind: HelmRepository
metadata:
  name: oauth2-proxy
  namespace: flux-system
spec:
  interval: 10m
  timeout: 1m0s
  url: https://oauth2-proxy.github.io/manifests
---
apiVersion: helm.toolkit.fluxcd.io/v2beta1
kind: HelmRelease
metadata:
  name: example-app-oauth2-proxy
  namespace: default
spec:
  targetNamespace: default
  releaseName: example-app-oauth2-proxy
  chart:
    spec:
      chart: oauth2-proxy
      version: "6.0.1"
      sourceRef:
        kind: HelmRepository
        name: oauth2-proxy
        namespace: flux-system
  interval: 1m0s
  values:
    extraArgs:
      provider: github
      github-org: "qtosw-example"
      github-team: "example-app-users"
      cookie-expire: 168h0m0s
    config:
      existingSecret: example-app-oauth2-proxy
Updating Ingresses to Enable OAuth2 Authentication
Add the following ingress to your cluster, either by applying it manually or adding it to Flux:
apiVersion: networking.k8s.io/v1
kind: Ingress
metadata:
  name: example-app-oauth2-proxy
  namespace: default
  annotations:
    kubernetes.io/ingress.class: nginx
    cert-manager.io/cluster-issuer: letsencrypt
spec:
  tls:
    - hosts:
        - "app.example.com"
      secretName: app.example.com-tls
  rules:
  - host: app.example.com
    http:
      paths:
      - path: /oauth2
        pathType: Prefix
        backend:
          service:
            name: example-app-oauth2-proxy
            port:
              number: 80
Note that there is TLS and an annotation for cert-manager. If you’re not using cert-manager, add the appropriate annotations for your ingress to have proper SSL certificates.
Finally, add the following annotations to your app’s ingress.
nginx.ingress.kubernetes.io/auth-url: "http://example-app-oauth2-proxy.default.svc.cluster.local/oauth2/auth"
nginx.ingress.kubernetes.io/auth-signin: "https://$host/oauth2/start?rd=$escaped_request_uri"
# If the above annotation doesn't work, try this one (Thanks LilDrunkenSmurf in k@h Discord):
# nginx.ingress.kubernetes.io/auth-signin: "https://auth.${SECRET_DOMAIN}/oauth2/start?rd=https%3A%2F%2F$host$request_uri"
Update the auth-url as appropriate for the name of your app and if you have it installed in a namespace other than default (you'll replace the default section of the value with your namespace.
Now navigate to your app.
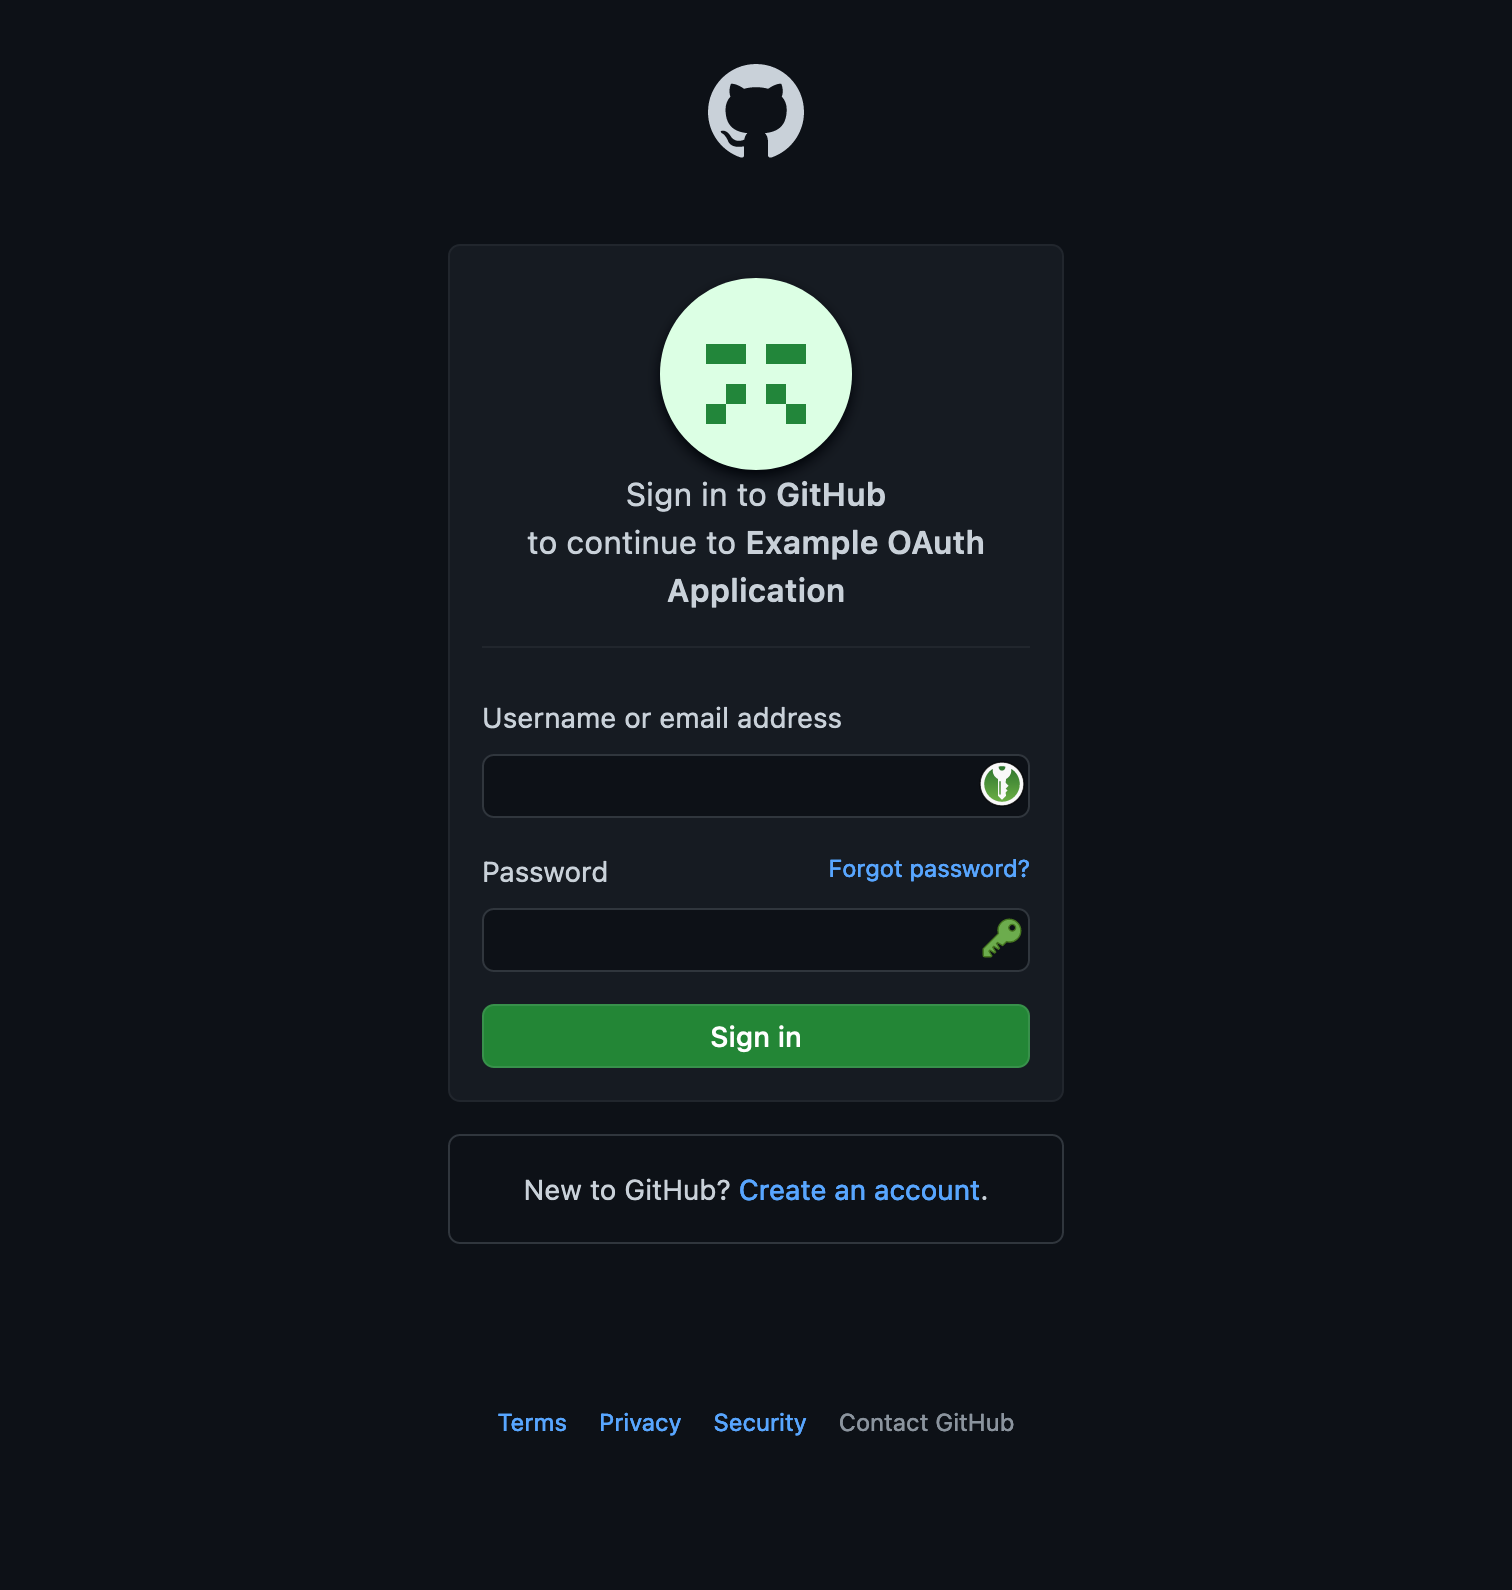
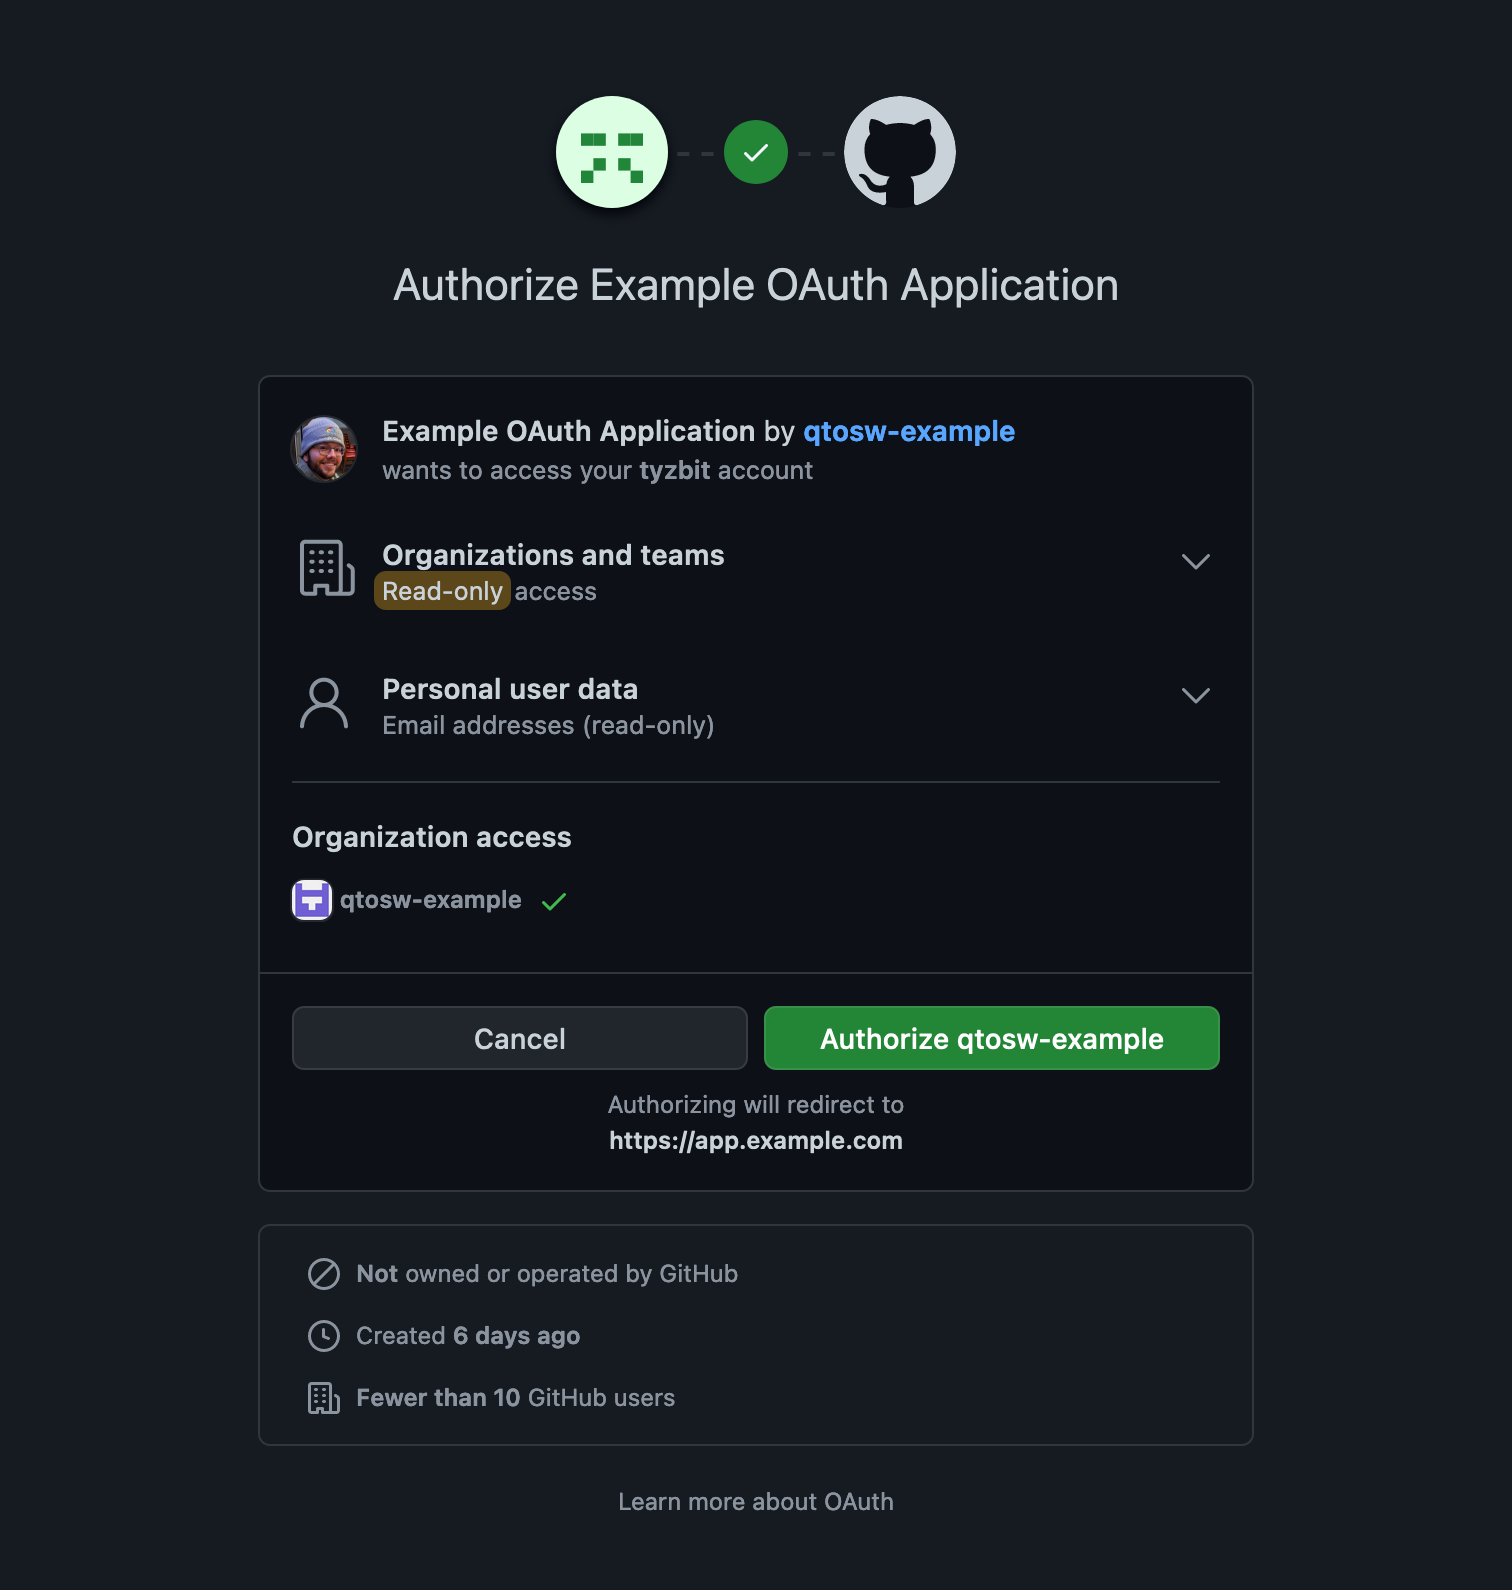
You should be greeted by a login page, or if you’re already logged in by a page asking you to authorize. Once authorized, you will be seamlessly redirected to your app.
